Fun Projects to Build with Your Kids Using Home Assistant
Want to spend quality time with your kids while teaching them real tech skills? Home Assistant is way more than a smart home platform. It's a playground for building creative, hands-on projects together. Here are 5 ideas that will get the whole family excited.
Desk Volcano
A fun and interactive project perfect for a parent and child to build together. You'll create a small model volcano that sits on a desk. When you press a button in your Home Assistant dashboard, the volcano's crater will light up and 'erupt' with a flickering, simulated lava effect using colorful LEDs. This project combines simple electronics, a bit of arts and crafts to build the volcano, and the magic of smart home control, making it an exciting introduction to the world of IoT.

A mini volcano on your kid's desk that "erupts" with glowing LED lava when you hit a button on your Home Assistant dashboard.
Components:
- ESP32-WROOM-32
- Adafruit NeoPixel Ring (12 LED)
- Solderless Breadboard
- Dupont Jumper Wires
- USB Power Bank
- Micro USB Cable
Build it:
- Wire the NeoPixel Ring to the ESP32 on a breadboard: DIN to GPIO 13, 5V to VIN, GND to GND
- Install the Arduino IDE, add the ESP32 board package via Boards Manager
- Install the Adafruit NeoPixel and ArduinoHA libraries
- Flash the Arduino sketch. It connects to your Wi-Fi, registers with Home Assistant's MQTT broker, and exposes the LED ring as a light entity
- Build the volcano shell from papier-mâché, clay, or a 3D print. Place the NeoPixel Ring inside so the LEDs glow upward through the crater
- Add the volcano as a light entity in Home Assistant and set up automations: eruption effects for homework reminders, weather alerts, or a big red dashboard button
- Let the kids pick their own eruption colors and triggers
Twin Star Friendship Lamps
A wonderful project for twins or best friends! This project creates a pair of connected lamps. When one person touches their lamp, the other person's lamp gently glows, sending a silent, colorful message. The lamps connect to your WiFi and integrate seamlessly with Home Assistant, allowing you to not only send touches but also trigger custom colors and animations for things like bedtime reminders or morning alarms. It's battery-powered, easy to assemble, and a magical way to stay connected.

Two lamps that talk to each other. Touch one, and the other lights up, even if it's on the other side of the world.
Components:
- 2x ESP32-S2 Mini
- 2x WS2812B NeoPixel LED Ring (12-LED)
- 2x TTP223 Capacitive Touch Sensor
- 2x 3.7V LiPo Battery with JST-PH Connector
- Small Breadboard and Jumper Wires Kit
- 2x Plastic Project Enclosure
- 2x Micro USB Cable
Build it:
- Wire each lamp the same way: LED ring DIN to GPIO 16, touch sensor signal to GPIO 18, plus power and ground for both
- Install the Arduino IDE, add the ESP32-S2 board package
- Install the Adafruit NeoPixel and PubSubClient (MQTT) libraries
- Flash the sketch to both ESP32s. Each lamp publishes a "touched" message to MQTT and subscribes to the other lamp's topic
- Mount the LED ring and touch sensor inside a plastic enclosure, connect the LiPo battery, and let the kids decorate it
- Connect both lamps to Home Assistant via MQTT. Use Nabu Casa for remote access if the lamps live in different homes
- Set up automations so touching Lamp A lights up Lamp B in a chosen color (and the other way around). Assign different colors per family member
- Ship the second lamp to a grandparent, cousin, or best friend
Spooky Candy Bowl
A fun, kid-friendly Halloween project that uses a motion sensor to guard a candy bowl. When someone reaches for a treat, a PIR sensor detects their hand and triggers an ESP8266 microcontroller. The ESP8266 commands a servo motor to make a spooky skeleton hand pop out from the side of the bowl. Simultaneously, it sends a message over your WiFi to Home Assistant, which can trigger automations like flashing smart lights, playing a scary sound on a smart speaker, or sending you a notification that the candy has been 'disturbed'.

A Halloween candy bowl that catches trick-or-treaters with a motion sensor, then pops open with a servo, flashes lights, and plays spooky sounds.
Components:
- Wemos D1 Mini (ESP8266)
- HC-SR501 PIR Motion Sensor
- SG90 Micro Servo Motor
- Solderless Breadboard
- Breadboard Jumper Wires
- Portable Power Bank
- Micro USB Cable
Build it:
- Wire the PIR motion sensor to the D1 Mini: signal to GPIO D2, VCC to 5V, GND to GND
- Wire the SG90 servo: signal to GPIO D4, power and ground to the D1 Mini
- Install the Arduino IDE, add the ESP8266 board package, and install the ArduinoHA and Servo libraries
- Flash the sketch. It registers the PIR sensor as a motion binary sensor and the servo as a controllable switch in Home Assistant via MQTT
- Mount the servo on the candy bowl lid so it pops open when triggered. Position the PIR sensor to face approaching trick-or-treaters
- In Home Assistant, build an automation chain: motion detected, servo pops the lid, smart lights flash red, spooky sound plays on a nearby speaker, servo closes the lid after a delay
- Let the kids choose the sound effects and decide how scary the sequence gets
- Bonus: add a counter helper in Home Assistant to track how many trick-or-treaters showed up
Weekend Wake-Up Light
Reclaim your weekend mornings with this simple, kid-friendly wake-up light. This device connects to your Home Assistant instance and glows red during "sleepy time." At a time you schedule from your Home Assistant dashboard (e.g., 7:30 AM), it automatically turns green, giving your child a clear visual cue that it's okay to leave their room. No more 5 AM wake-up calls! The schedule is easily adjustable from your phone, making it simple to adapt to changing routines without ever touching the device or code.
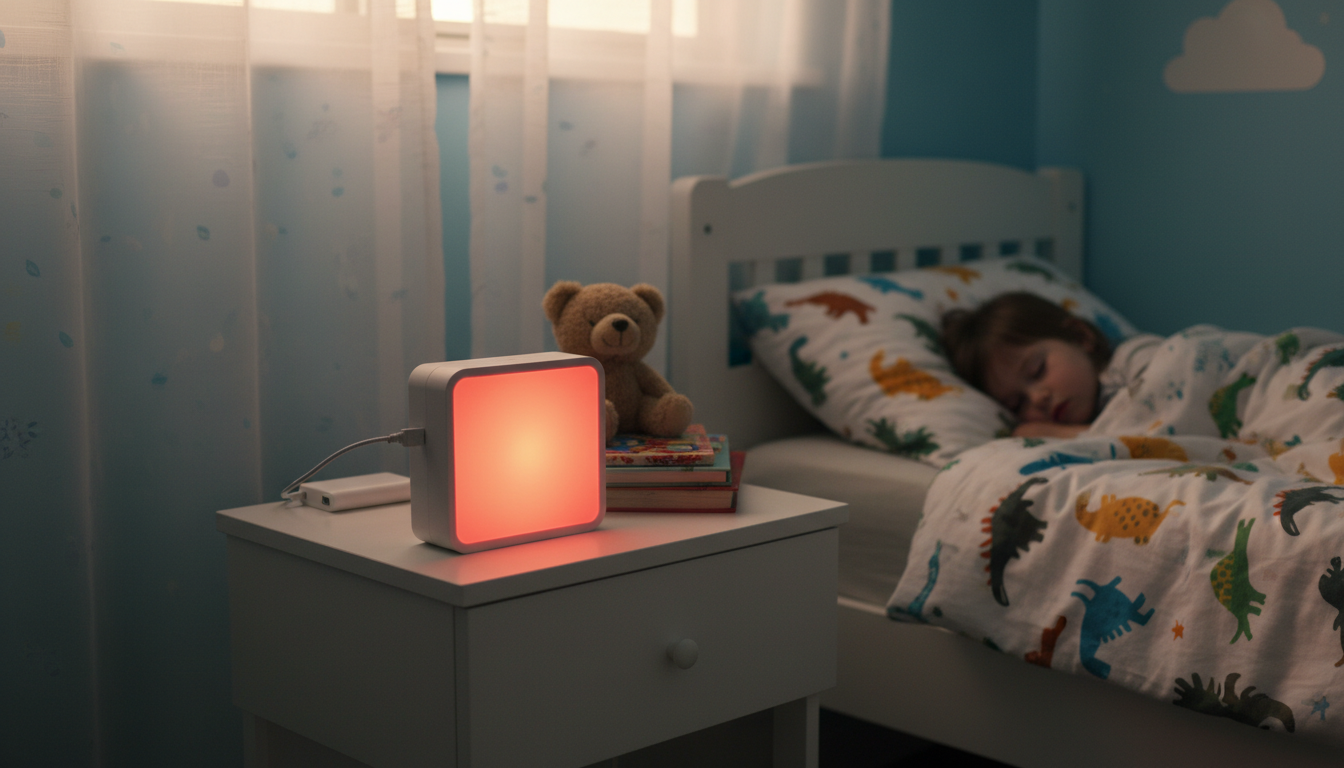
A sunrise alarm that knows when it's a school day and when it's the weekend. It gradually fills the room with warm light so your kids wake up on their own.
Components:
- ESP32-WROOM-32
- WS2812B Addressable LED Strip
- USB Power Bank
- Solderless Breadboard
- Jumper Wires Kit
- 330-470 Ohm Resistor
- Short Micro-USB or USB-C Cable
Build it:
- Wire the LED strip to the ESP32: data line through a 330-470 ohm resistor to GPIO 5, plus 5V and GND
- Install the Arduino IDE, add the ESP32 board package
- Install the FastLED, PubSubClient, and ArduinoJson libraries
- Flash the sketch. It connects to MQTT and exposes the LED strip as a dimmable RGB light in Home Assistant, with support for brightness transitions and color changes
- Mount the LED strip inside a lampshade, diffuser, or along a shelf in your kid's room for an even glow
- In Home Assistant, create a time-based automation that transitions the light over 15 to 30 minutes: dim warm red, then orange, then bright white, like a sunrise
- Add a condition that checks the day of the week (or a shared family calendar) so it only triggers on school days
- Optionally play a gentle alarm sound on a nearby smart speaker at the end of the ramp for heavy sleepers
- Let the kids pick their own wake-up time, color sequence, and ramp duration
Secret Message Box
A fun and interactive project for a parent and child to build together. This project creates a small wooden 'treasure box' that can be locked and unlocked remotely from your Home Assistant dashboard. A sensor reports back to Home Assistant whether the lid is open or closed, and an internal RGB LED can be controlled to light up the contents in any color. It's a magical way to leave secret notes or small surprises, all powered by an ESP32 microcontroller running ESPHome for seamless integration.
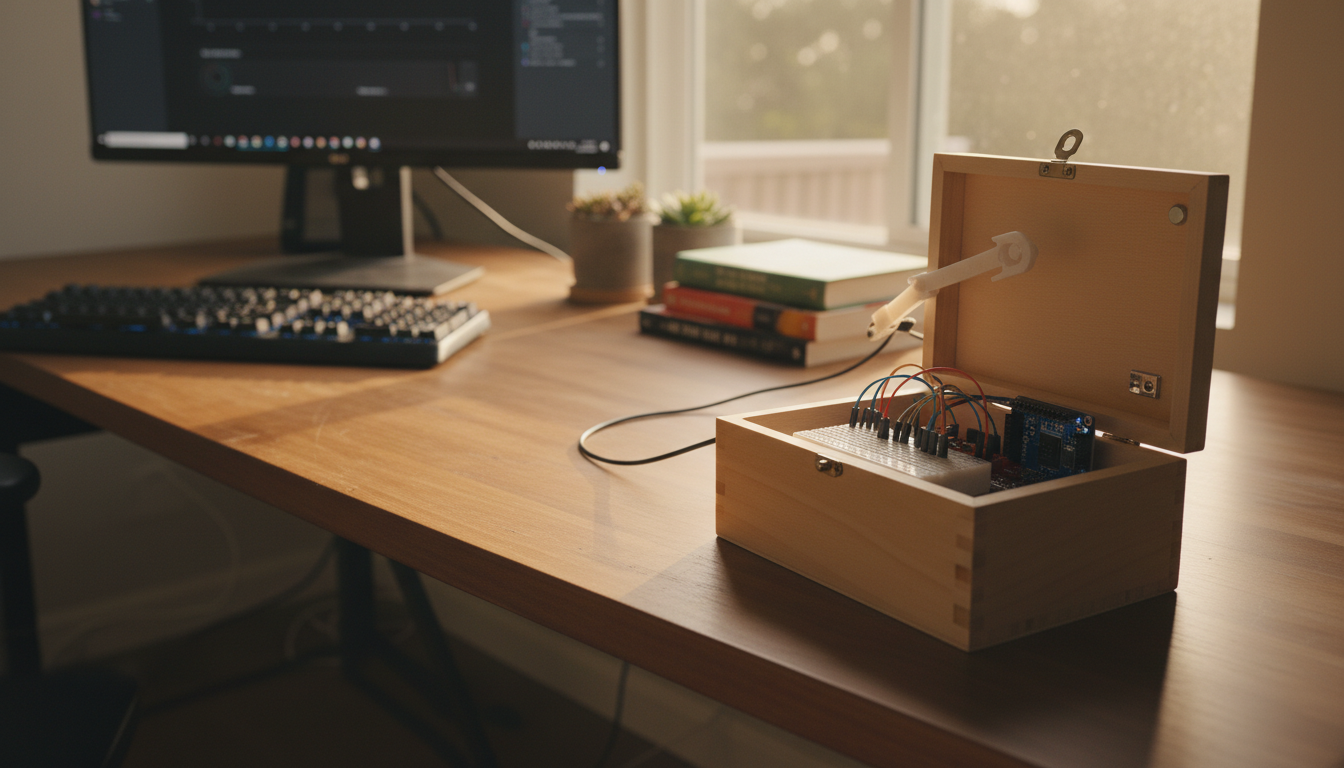
A wooden box with a hidden OLED screen inside. Type a message from your phone and it shows up when your kid opens the lid. An RGB LED on the outside glows when there's something new to read.
Components:
- ESP32-WROOM-32
- SSD1306 OLED Display (128x64)
- SG90 Micro Servo Motor
- MC-38 Magnetic Reed Switch
- WS2812B RGB LED
- Solderless Breadboard
- Jumper Wires
- Small USB Power Bank
- Micro USB Cable
- Wooden Craft Box
Build it:
- Wire the SSD1306 OLED display to the ESP32 via I2C: SDA to GPIO 21, SCL to GPIO 22
- Wire the MC-38 magnetic reed switch to a GPIO pin. Mount one half on the lid and the other on the box body so it detects open/close
- Wire the WS2812B RGB LED to a GPIO pin for the notification light on the outside
- Wire the SG90 servo if you want a motorized lock or reveal mechanism
- Flash ESPHome firmware onto the ESP32 with the display, binary sensor (reed switch), light (RGB LED), and text sensor components configured
- Assemble everything inside the wooden craft box: OLED hidden under the lid, reed switch magnets aligned, RGB LED visible on the outside
- Connect to Home Assistant via ESPHome and create a text input helper on your dashboard
- Type a message from your phone and it appears on the OLED when the lid is opened. The RGB LED glows to signal an unread message
- Set up a second text input so the kids can send messages back to you
Every one of these projects is a chance to learn, build, and spend time together. No coding degree required. Just curiosity and a free afternoon. Click into any project for the full step-by-step guide, component links, and printable instructions.
Happy making!